On April 8th, 2024, a total solar eclipse will sweep across North America, from Mexico to the Maine-Canadian border. For those who experienced the spectacular solar eclipse of 2017, this one will be similar, crossing the United States from west to east and passing...

Smartphones have pretty good cameras these days, but no matter how advanced this technology becomes, it’s no match for our brains. Because of how they’re built, digital single lens reflex cameras (DSLRs), the standard camera of professional photographers and dedicated hobbyists, give you more control over how your photographs come out than your phone ever could. DSLRs come loaded with lots of features and settings that contribute to the overall look of your photographs, all of which are either controlled automatically by your phone or not available at all. Use these features the right way, and you’ll capture exactly what you’re seeing in your mind’s eye.
In Part I of this series, I discussed the bare-bones mechanics behind how cameras work (and why your iPhone will never take photos as good as on your DSLR). Here, I will discuss the three primary ways you can master the camera’s mechanics to capture that perfect photograph. While most digital cameras have dozens of settings (like portrait mode and landscape mode), most of these settings work off a recipe with just three ingredients: shutter speed, aperture, and ISO.
1. Shutter Speed
As you may remember from Part I of this series (because, of course, you read it), when you snap a picture, the shutter in a camera opens up for a short amount of time and lets in light from the outside world. The amount of time the shutter stays open is called the “shutter speed.”
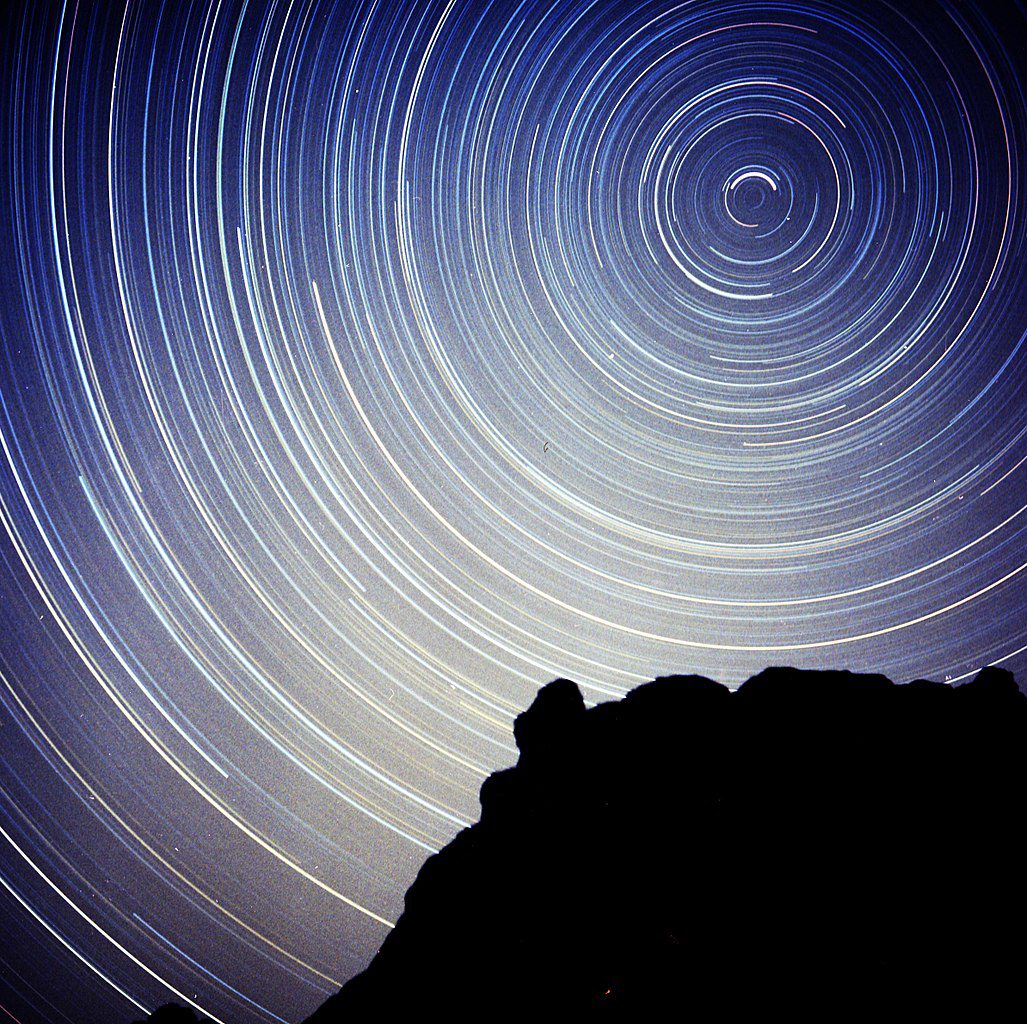
A 7+ hour-long exposure of the night sky, looking at the North Star. The open shutter captured the rotation of the Earth as seen in the stars.
If you play around with the shutter speed setting on your camera, you’ll notice it impacts how your photos turn out in two ways 1) it affects how bright your photographs look and 2) it determines whether the moving objects in your photos look crisp or blurry.
Cameras give you a lot of options when it comes to shutter speed: If the you choose, you can manually set the shutter to stay open for only thousandths of seconds, to capture either extremely bright images, like the sun, or objects moving very quickly. On the other end, you can set the shutter to stay open for 1/4th or 1/8th of a second, or even multiple seconds, to collect images in the dark, or to create artsy photographs with blurry, compound, or faded elements. If you’re shopping for a camera, you’ll notice that the more expensive, professional DSLRs are capable of reaching faster shutter speeds (up to 1/8000th of a second). On the other end of the spectrum, most DSLRs, regardless of the price, let you keep the shutter open indefinitely.
In the photograph above, the photographer left the camera shutter open for more than seven hours. As a result, the camera captured the light from the stars as they moved across the sky. This long exposure only worked because the photographer took the photo at night in the desert, where there was almost no ambient light.
But what if you want to photograph a fast-moving object, like a bird flying in the sky, in the dark? Opening the shutter to let more light in will only lead to a blurry bird. One the other hand, a quick shutter speed will capture the bird, but it won’t matter, because the image will turn out pitch black. In situations like this, we have to embrace another setting on the camera: aperture.
2. Aperture
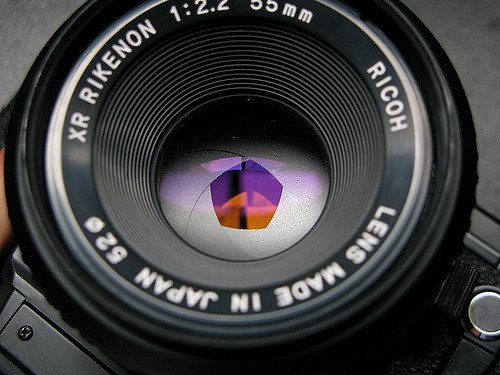
A camera lens with a small aperture.
A camera’s aperture is a window in its lens that can change size and affect how much light can pass through. A larger aperture will let more light in. This means that if you combine a quick shutter speed with a wide open aperture, you’ll be able to become a nighttime bird photographer, after all.
The aperture of a lens also affects the depth of field – or the distance in front of and behind the subject of your photo that objects stay in focus. For example, if you’re taking a picture of someone, a shallow depth of field will give you a blurry background, while your subject’s face will be crisp. If you’re taking picture of a landscape, you’ll want a deep depth of field to keep everything in focus. The way aperture determines your depth of field starts with how it focuses light.
The lens in your camera takes all the light that’s hitting it, and based on the way its shaped, it bends the light inward and focuses it onto your film or photosensor. The point where all the light meets is called the focal point. In a camera, there’s another lens there that spreads the light out again to just the right area so it matches up with the size of your film or photosensor.
Now, a camera lens has another focal point – in front of your camera. If you place an object at this focal point, it will be in focus. And this is where things start getting interesting.
While the focal point in front of your camera is technically the only point where objects will be in complete focus, our brains are forgiving – we consider things “in focus” a little in front of and a little behind the focal point, when the light rays aren’t quite aligned to a point.
What does this have to do with aperture?
When light hits the objects you’re photographing and bounces into your camera lens, it hits different parts of your lens from slightly different angles – like how water spraying from a watering can hit your flowers in different areas at slightly different angles.
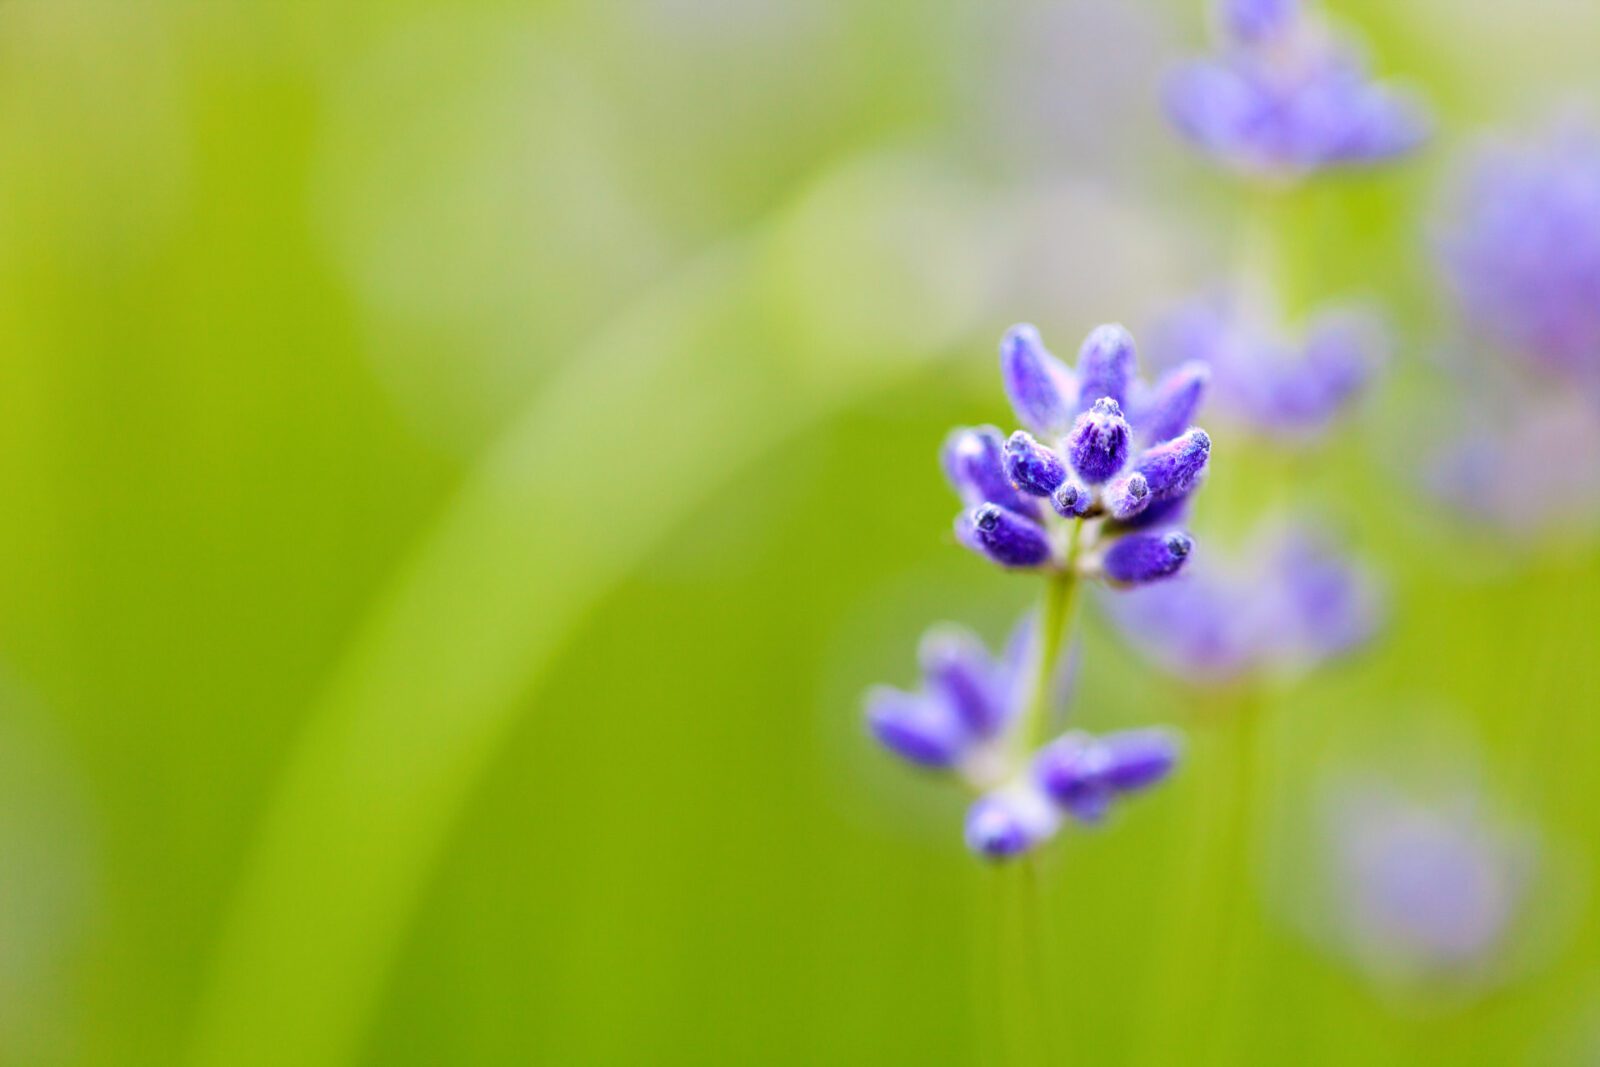
This photograph was taken with a wide aperture, giving the lens a very shallow depth of field, where only one flower is in focus.
When your camera aperture is wide open, it collects light hitting across your whole lens, coming in from wildly different angles. Since your lens is capturing rays that are diverging like crazy, it’s seeing ones that spread apart very quickly as soon as they bounce off the object you’re shooting. This means there’s little room in front of and behind focal point where the rays will be close enough to each other for our brains to perceive as “in focus.” In this case, the camera captures a very shallow depth of field.
A small aperture, on the other hand, can only capture a narrow band of light rays – its like a funnel with a narrow top. Going back to our watering can analogy, a narrow funnel only collects the water spraying more directly towards the center of your flower. The light sticks together for more time (and more distance) after it bounces off the subject of your photo, so for us, there’s a bit more wiggle room when it comes to what we consider “in focus.” This gives a narrower aperture a deeper depth of field.

Top: A wide aperture captures light coming from a wide range of angles, and objects go out of focus really quickly, relative to how close they are to the focal point. Bottom: a small aperture collects a narrow band of light, leaving more room where objects will stay in focus.
3. ISO
While your shutter speed and aperture settings let you decide how much light gets into your camera, the ISO setting (or the ISO of your film) determines how sensitive your camera is to light. Shutter speed and aperture work the same in both analog and digital cameras. But with ISO, it’s a little bit different.
In traditional film cameras, the film’s sensitivity to light, or ISO, depends on the size of the light-sensitive silver halide crystals it contains (remember those from Part I?) To review, camera film is coated in silver halide crystals that pop off their halides when exposed to light, leading to a lighter spot on your film. Smaller crystals have a harder time letting go of their halides, so not as much light gets converted into brightness on the film (low ISO film is considered “slow”). Larger crystals, on the other hand, let go of their halides quite easily. Film that contains these crystals is considered “fast,” and produces brighter images.
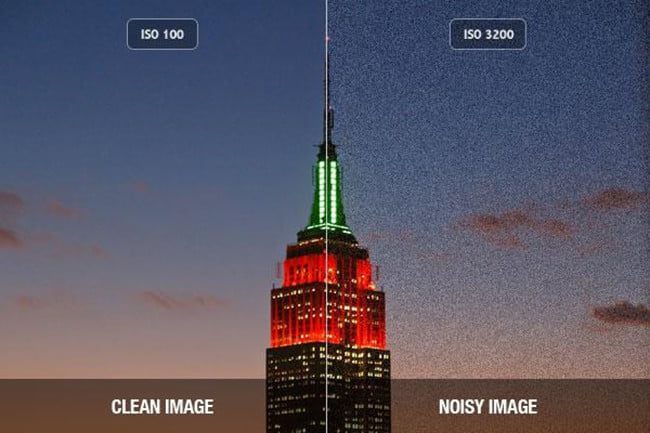
A comparison between a low ISO and a high ISO
Larger crystals produce grainy images, though, which is why the photos you take at night come out noisy.
Digital cameras don’t use film, so instead, they replicate the effect of ISO using digital techniques. When you changes the ISO in a digital camera, you’re changing, the gain. This is the amount by which the camera amplifies the electrical signals coming from the photosensor when its saving your photos on your memory card.
You can’t blame large crystals for the noise in your high-ISO digital photos. In digital cameras, all you can do is chalk it up to plain old electrical noise.
What Else is There?
The three features of shutter speed, aperture, and ISO will let you manipulate how your camera picks up light – a key factor in producing a strong photograph. And as I mentioned, all the settings on your camera use these three controls to give you the kind of image you want. Portrait mode gives you a wide aperture so you can get a shallow depth-of-field. This way, only the person you are photographing is in focus. Landscape mode gives you a small aperture so everything in your landscape will be in focus. Sports mode quickens the shutter speed so you can photograph quick motions. Some cameras have a nighttime or dark mode, and this slows your shutter speed and hikes up your ISO to make your camera more receptive to light.
This is as far as I can take you. There is not enough knowledge out there in the world to explain your way to perfect technique. When it comes down to it, photograph is an art, and the rest is up to you and your talent. Happy shooting!